Beyond the Page: Taking Your Art and Creativity Outdoors
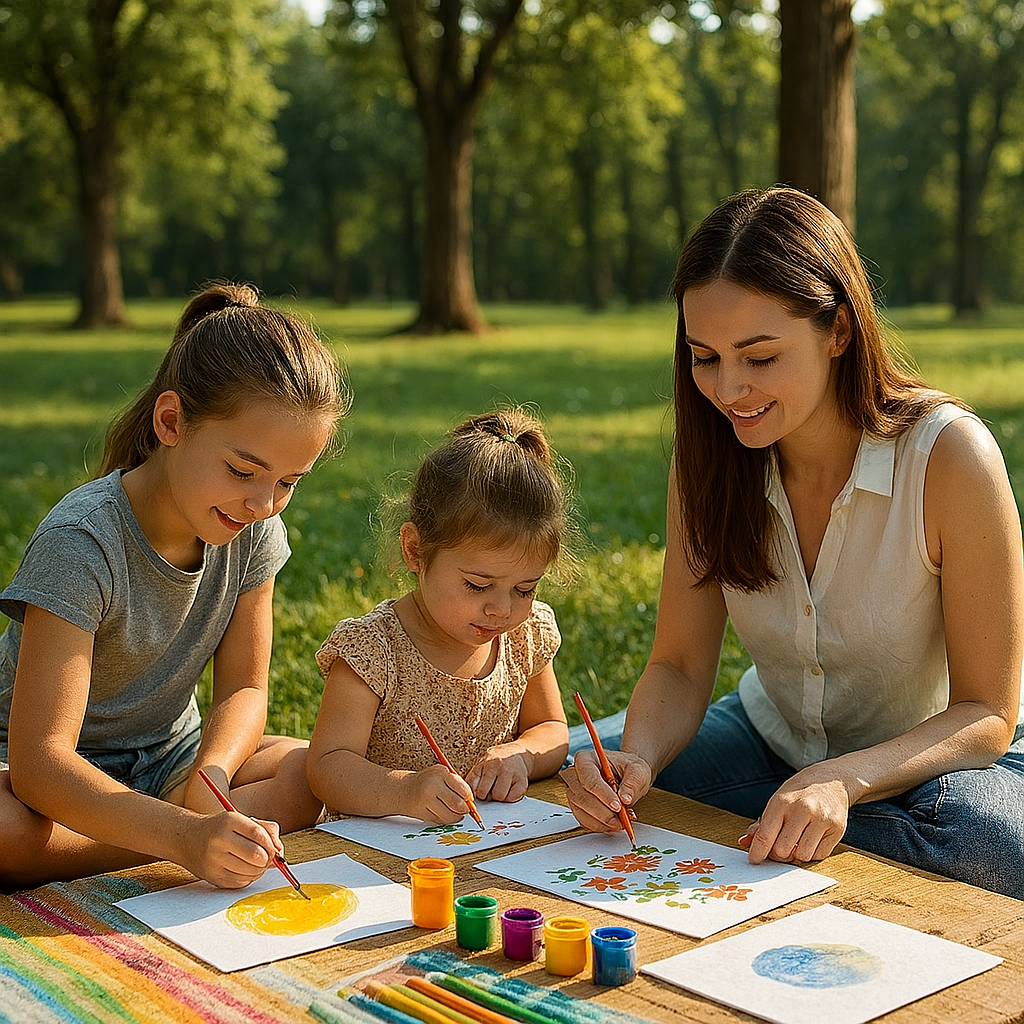
The world is a canvas, so why should our art be confined to four walls? Taking creative activities outdoors offers a multi-sensory experience that can’t be replicated inside. The smell of fresh grass, the feel of a gentle breeze, and the symphony of birdsong all become part of the artistic process. It’s a powerful way to foster a deeper connection with nature while letting your child's imagination run wild and free.
The Developmental Magic of Outdoor Art
Studies, including those highlighted by the Children & Nature Network, show that outdoor time reduces stress, improves focus, and boosts creativity. When you combine this with art, you get a developmental powerhouse:
- Sensory Integration: Children process information from all senses—the rough texture of bark, the vibrant color of a flower, the sound of leaves crunching. This builds critical neural connections.
- Scientific Observation: Every outdoor art session is a mini science lesson. Kids observe patterns, textures, life cycles, and cause-and-effect in a hands-on way.
- Problem-Solving: Nature doesn't come with instructions. Kids must figure out how to make a twig stick to their collage or how to keep their paper from blowing away, fostering resilience and ingenuity.
- Gross & Fine Motor Skills: Outdoor art encourages big movements (carrying branches for a sculpture) and delicate ones (placing petals in a mandala), developing a full range of motor control.
A Comprehensive Guide to Outdoor Art Projects
Project 1: Nature's Paintbrushes & Earth Pigments
Forget traditional brushes! This project encourages children to see the artistic potential in everything around them.
Materials Needed:
- From Home: Non-toxic, washable paint (tempera or acrylic), paper or cardboard, clothespins, small containers for paint.
- From Nature: Pine needles, wide leaves, fluffy dandelions, sturdy twigs, flower petals, small bunches of grass.
Step-by-Step Instructions:
- Go on a "paintbrush hunt" to gather your natural tools. Encourage a variety of textures.
- Use clothespins to create handles for smaller items like leaves or bunches of pine needles.
- Set out your paint and paper on a protected surface (like an old sheet).
- Let your child experiment with dipping each natural brush into the paint and making marks on the paper.
Learning & Conversation:
- "What kind of line does the pine needle make? How is it different from the leaf?" (Observation & Comparison)
- "If we mix the yellow flower paint with the red berry paint, what color do you think we'll get?" (Color Theory)
- Advanced: Try making your own "earth pigments." Mix mud with a little water for brown, crush berries for purple/red, and grind charcoal (safely, with adult help) for black. This connects art directly to the earth.
Project 2: Sun-Powered Art (Sun Prints)
This project feels like magic and is a fantastic introduction to basic photography and chemical reactions.
Materials Needed:
- From Home: Sun-sensitive paper (also called cyanotype or solar paper, available online or at craft stores), a tray or tub of water, a piece of cardboard.
- From Nature: Flat, interestingly shaped leaves, ferns, flowers, and twigs.
Step-by-Step Instructions:
- On a sunny day, arrange your collected nature items on a sheet of sun-sensitive paper (blue side up). Do this quickly, as it reacts to UV light.
- Place the paper in direct sunlight for the time specified in the instructions (usually 2-5 minutes). You'll see the paper change color.
- Bring the paper indoors, remove the nature items, and immediately submerge the paper in your tray of water for about 1 minute.
- Watch as the image develops! The areas covered by your items will be light, and the exposed areas will turn a deep blue.
- Lay the print flat to dry.
Learning & Conversation:
- "Why do you think the part under the leaf stayed white?" (Cause & Effect, Light/Shadow)
- "What do you predict will happen if we use a thicker leaf versus a thinner one?" (Hypothesis)
- This is a great way to talk about the power of the sun and UV light in a safe, tangible way.
Project 3: Transient Land Art & Nature Mandalas
This teaches the beauty of creating art that isn't permanent, focusing on the process rather than the product. It’s a wonderful mindfulness activity.
Materials Needed:
- From Home: None! (Maybe a camera to capture the memory).
- From Nature: Rocks, pebbles, leaves of different colors, twigs, flower petals, pinecones, acorns, shells.
Step-by-Step Instructions:
- Find a clear patch of ground.
- Start in the center with a single, interesting object (like a unique rock or flower).
- Work your way outwards, creating concentric circles of different materials. Create patterns with your items.
- Encourage sorting and grouping items by color, size, or shape before placing them.
- There are no rules! The art can be a spiral, a face, or a random collage on the ground.
Learning & Conversation:
- "Let's make a pattern: one rock, one leaf, one rock, one leaf. What comes next?" (Math & Patterns)
- "How does the arrangement feel balanced?" (Art & Design Principles)
- Talk about how the wind or rain might change the artwork later. This teaches about natural cycles and the beauty of impermanence.
Project 4: Shadow Drawing & Tracing
This project uses the sun as a collaborator, teaching about light, angles, and the passage of time.
Materials Needed:
- From Home: Large sheets of paper or a roll of craft paper, tape, drawing tools (charcoal, crayons, markers), small toys or objects with interesting shapes.
- From Nature: The sun!
Step-by-Step Instructions:
- On a sunny day, tape your paper to the ground.
- Place an object (like a toy dinosaur or a garden gnome) at the edge of the paper so its shadow falls across it.
- Have your child trace the outline of the shadow.
- Come back an hour later. Place the object in the exact same spot. Observe how the shadow has moved and changed shape. Trace the new shadow in a different color.
- Repeat throughout the day to see a fascinating record of the sun's journey across the sky.
Learning & Conversation:
- "Why do you think the shadow is so long in the morning and shorter at noon?" (Earth Science)
- "What happens to the shadow when you turn the object?" (Light & Physics)
- This can lead to a deeper discussion about how the Earth rotates.
A Parent's Practical Guide to Outdoor Art
A little preparation can turn a potentially stressful outing into a joyful, creative adventure.
Your Outdoor Art "Go-Kit"
Keep a bag ready with these essentials:
- An old sheet or tablecloth to define the workspace and protect surfaces.
- Baby wipes and a small towel for messy hands.
- A spray bottle with water (for cleaning and mixing mud paints).
- A small, curated set of art supplies: washable paint, chunky crayons, charcoal sticks.
- Paper, cardboard, or a sketchbook.
- A bag for collecting treasures (and another for trash).
- Clothespins and string (for hanging art to dry).
- Sunscreen and bug spray.
- Snacks and water (creativity is thirsty work!).
- A camera or phone to document the process and final creations.
Safety & Respect for Nature Checklist
- Rule of Thumb: Only collect things that have already fallen to the ground. Don't pick living plants or flowers.
- "Leave No Trace": Pack up everything you brought with you, including small paper scraps.
- Know Your Plants: Briefly check your area for poison ivy, oak, or other irritants. Teach children "leaves of three, let it be."
- Supervision: Always supervise children, especially when using small items or near water.
- Hand Washing: Wash hands thoroughly after the activity, especially before eating.
By stepping outside the lines of a coloring book and into the boundless canvas of the outdoors, you give your child a priceless gift. You teach them that inspiration is everywhere, that creativity has no limits, and that the natural world is not just a backdrop, but a partner in their artistic journey. So grab a few supplies, open the door, and see what masterpieces you can create together.